
Hi, All! I am so glad you stopped by! Every Valentine's Day, I look forward to finding something new to enhance the holiday: be it a new craft, new yummy recipe or a new decoration. This year, my discovery has been in these really fun homemade cornstarch ornaments.
This post contains affiliated links. You may read the full disclosure here.
One day, while passively looking on Pinterest, I came across a photo of heart-shaped cornstarch ornaments. It was only a picture and did not have any directions attached to the posting. There was some verbiage about cornstarch dough but, nothing else. As I searched further, I found a recipe for cornstarch dough through Pinterest on a blog called Tips from a Typical Mom. In trying to link the recipe to this post, I have discovered that this website is no longer active. I will share the recipe at the end of this post but, I wanted to give credit where credit is due. The recipe is not my own.
I made the dough according to the directions. I would probably double the recipe next time in order to make more ornaments. The recipe takes only three main ingredients, cornstarch, baking soda and water. Therefore, it is very inexpensive to make so, why not make up a big batch? All the more fun!
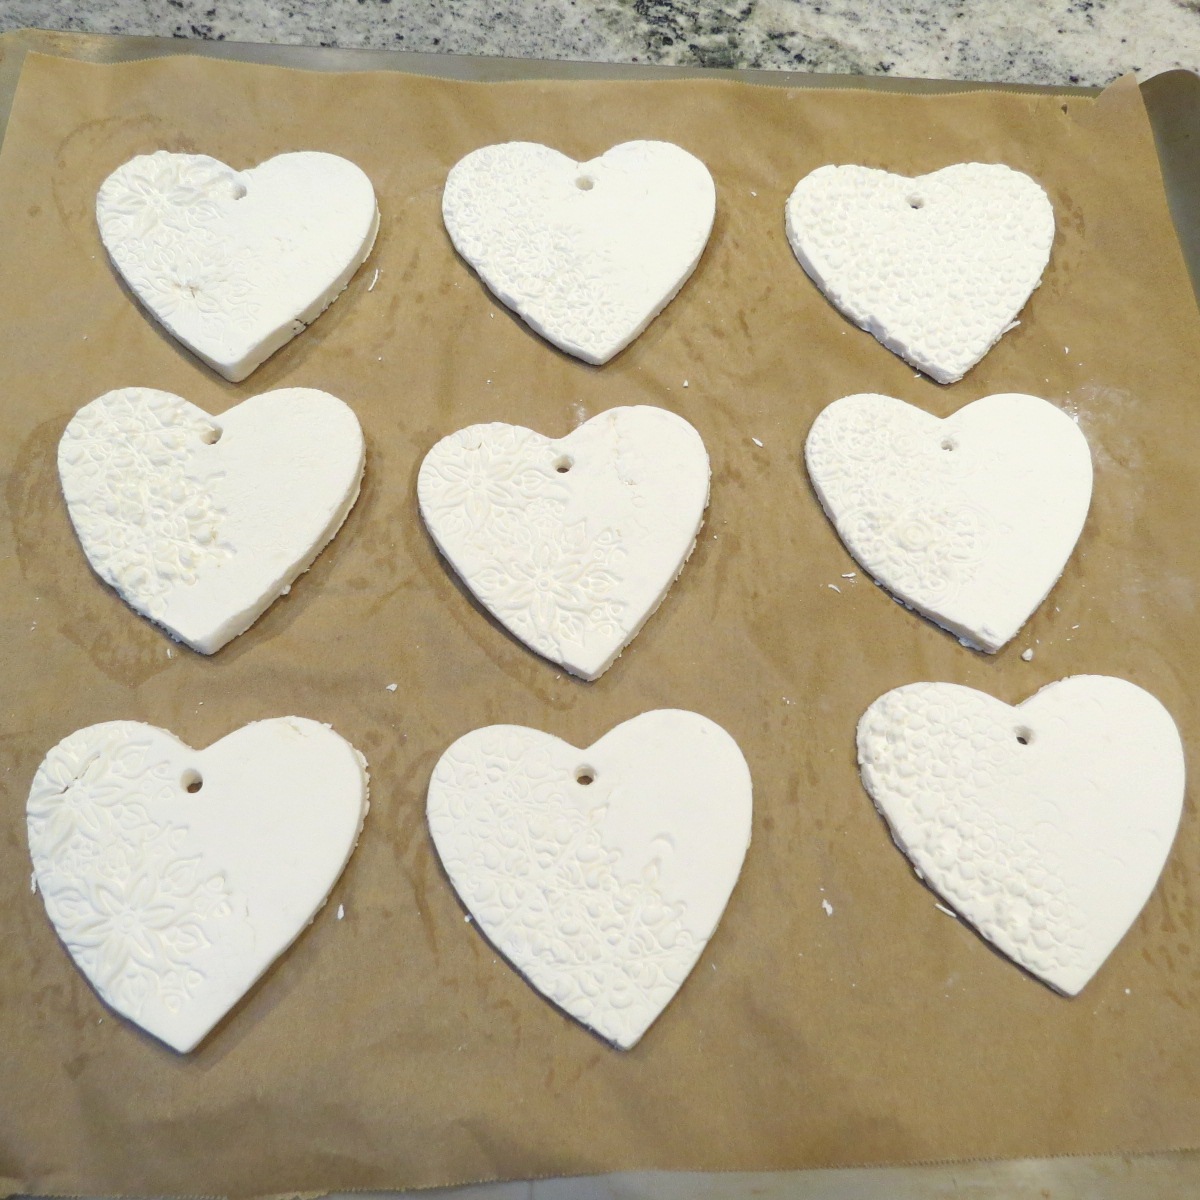
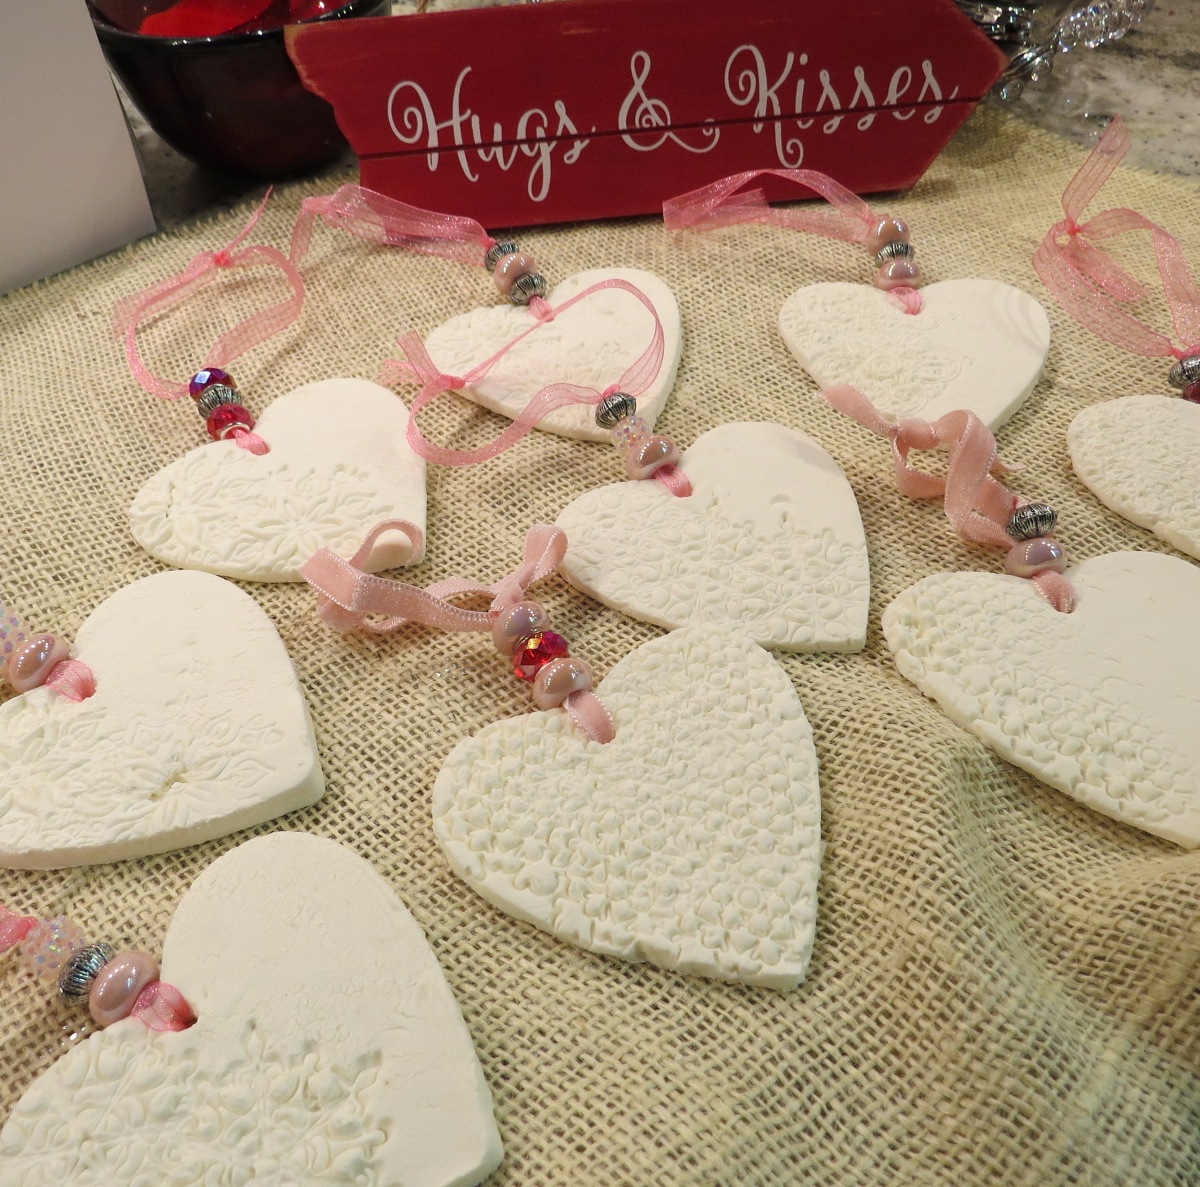
Here are my ornaments after baking in the oven~
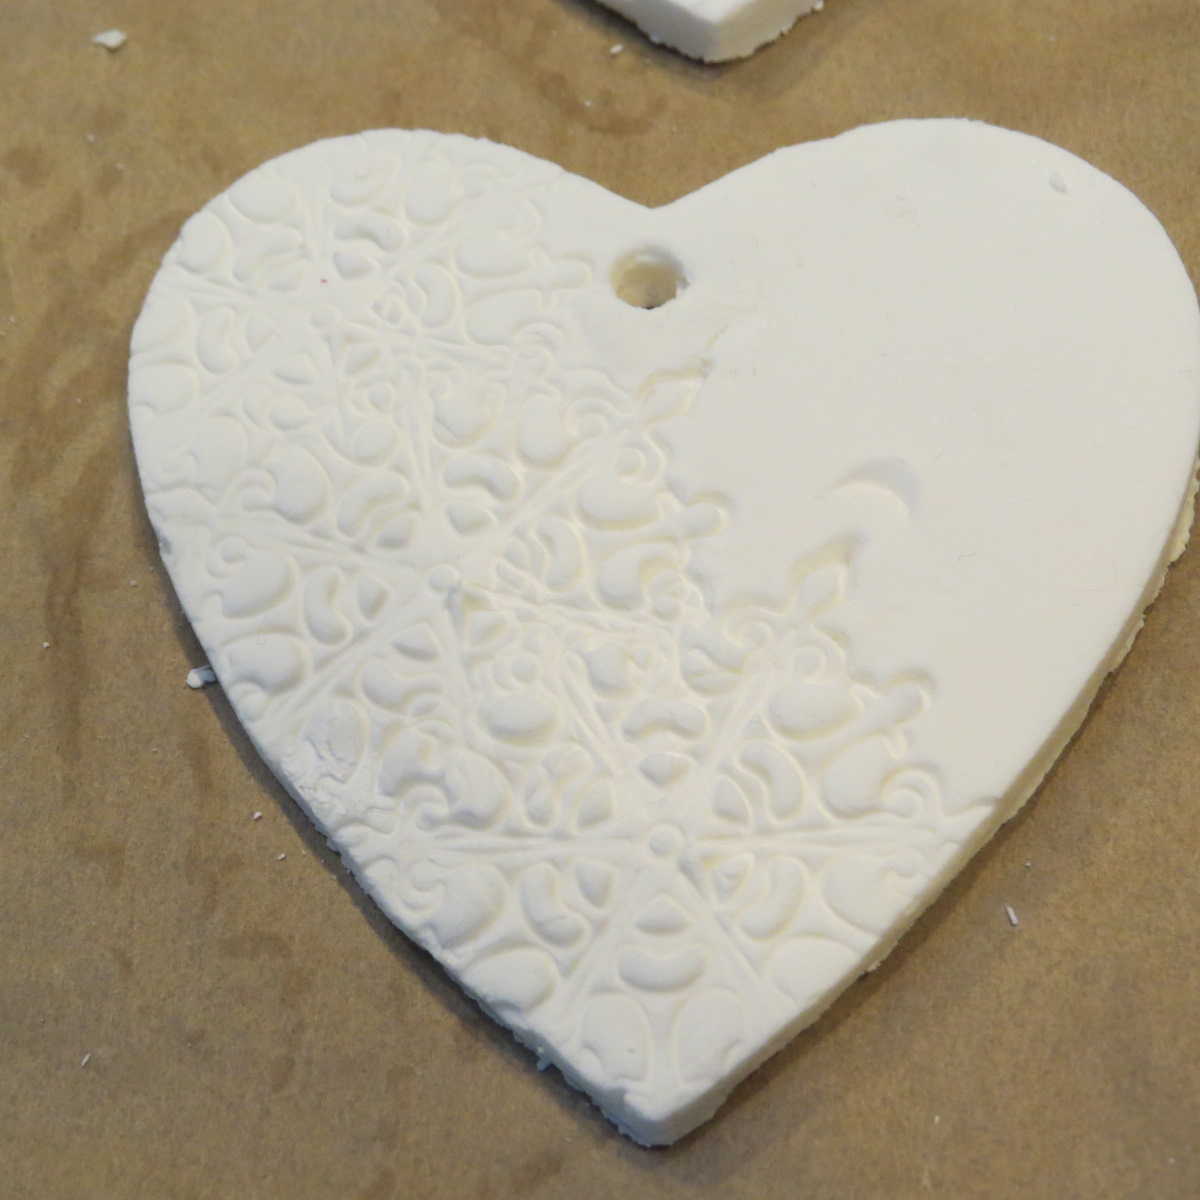
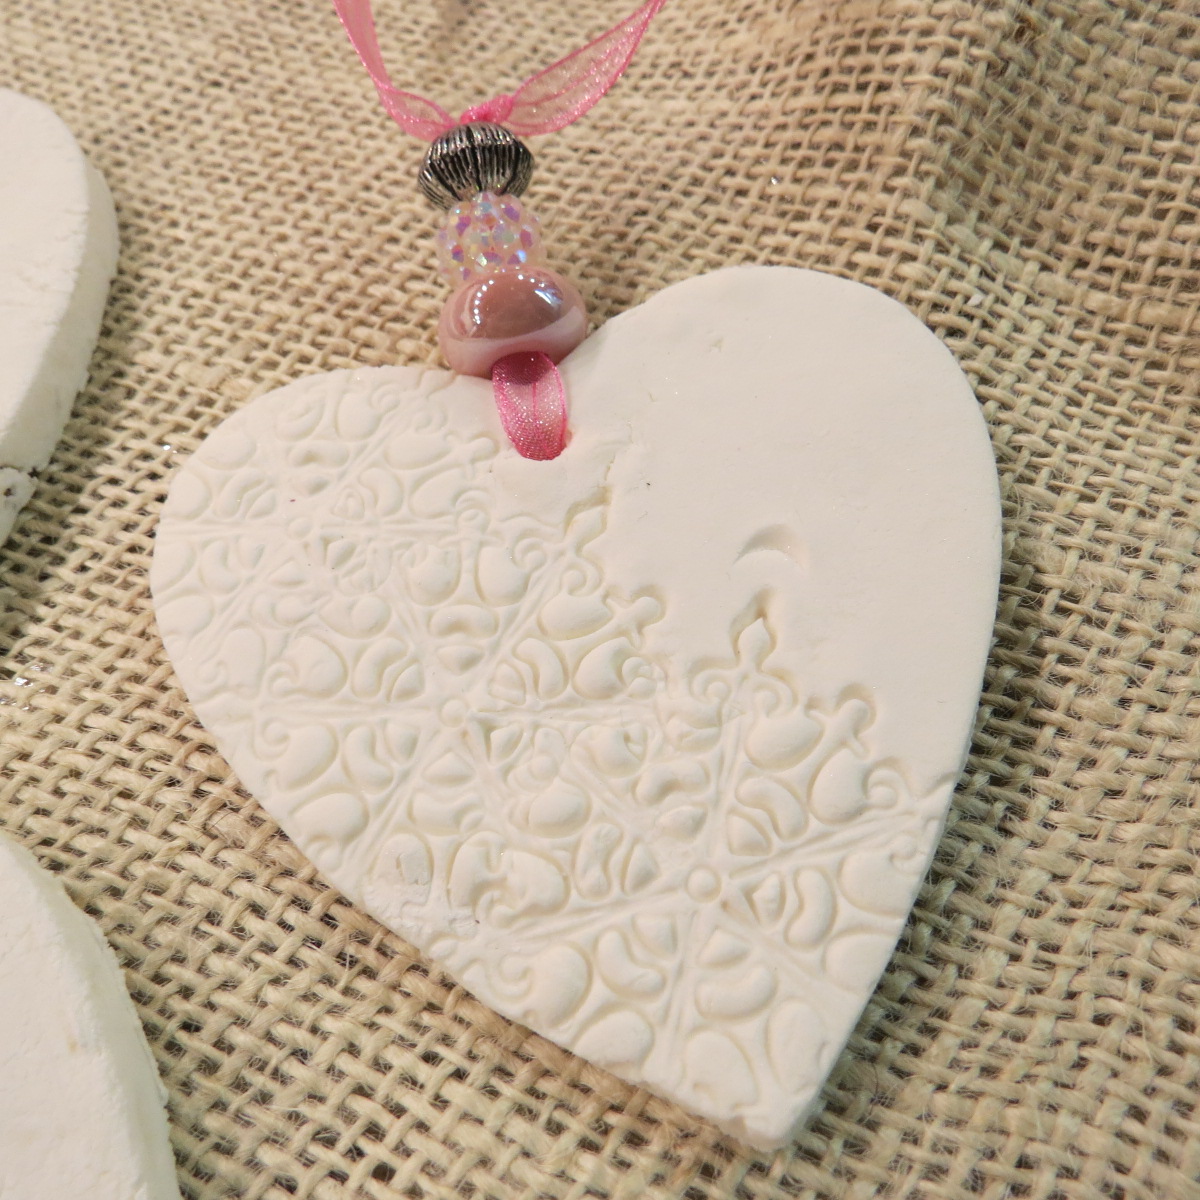
After rolling out the dough and cutting the heart shapes, I then pressed the dough with these embossing cake stamps. I purchased them from Amazon. You can find the link to these stamps here →Joinor 5pcs/Set Flower Shape Cake Embosser Lace Press Mold Biscuit Stamps Fondant Sugarcraft Cookie Cutter Kitchen Tools Bakeware

You can see some of the embossing in this photo ↓
The ornaments take a while to fully dry. I left them alone for a day or two, mainly because of my schedule, but in the end, I think that was a good move. One day would probably be fine, however. You want to make sure they are totally dry to be able to be manhandled a little bit while you are adding ribbon and beads. They get jostled around somewhat while doing this.
I went to Michael's to buy some ribbon and beads and spent way too much there. A snowstorm was coming and I found myself in less than perfect road conditions on my way home. I arrived home safely and was glad it all turned out fine. I had had so much fun picking out the beads!!! It had been worth the extra time of shopping ;).

Unfortunately, after buying all of these beads, I discovered that some of my ribbon was too thick to go through the small holes of most of the beads. The sheer ribbon worked best but I soon discovered that I would not be able to use many of the beads for this project even with the thinner ribbon. Hopefully, I will find another place to use them in the future...I'm sure I will :).
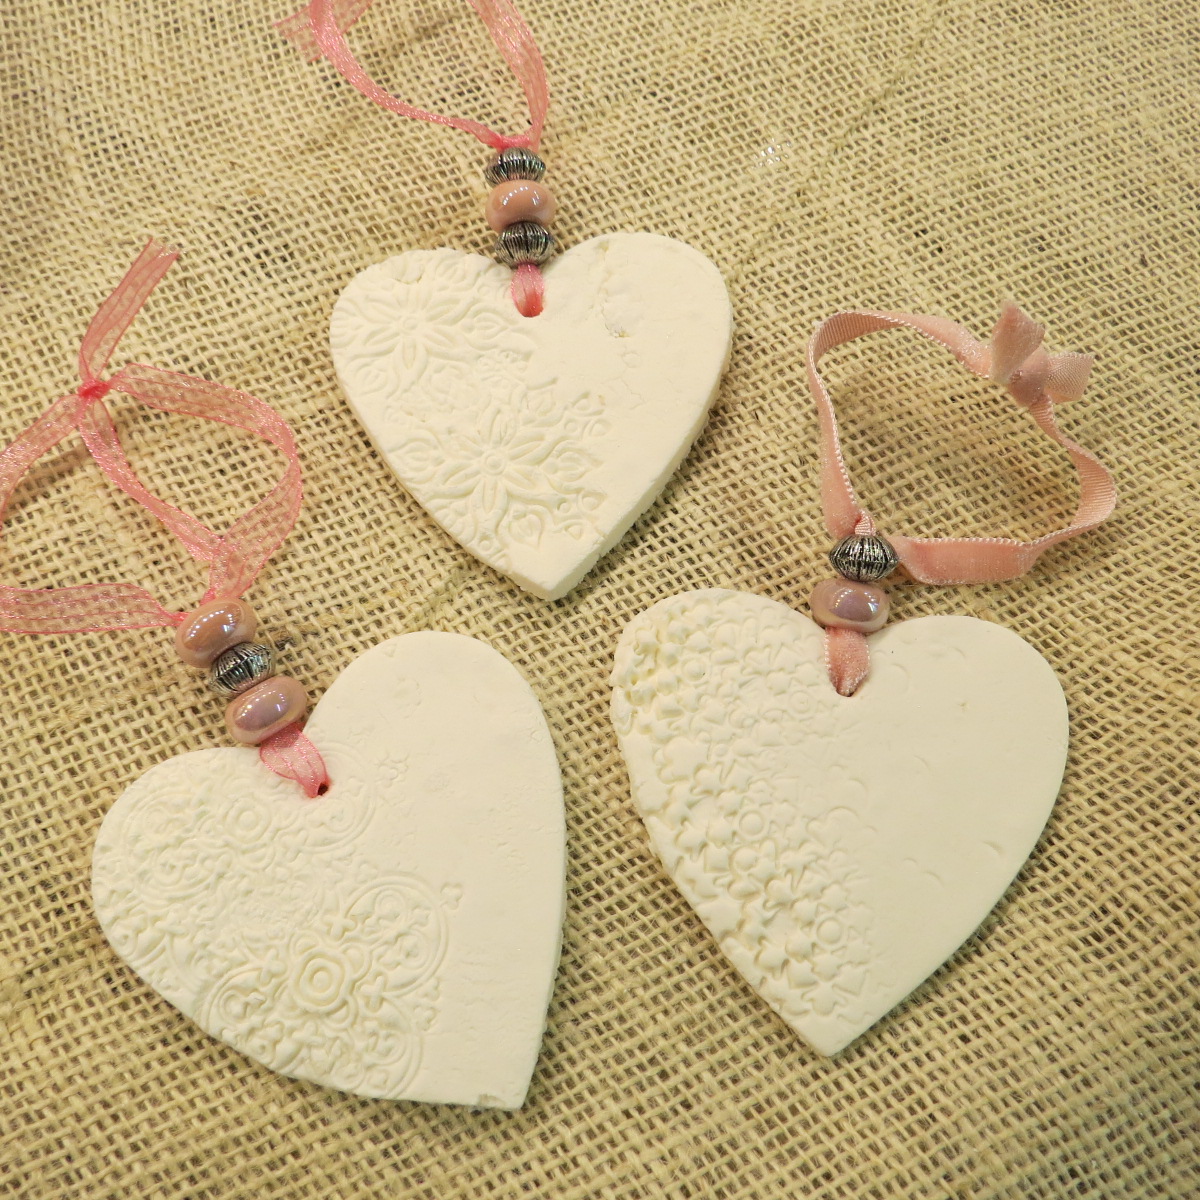
Next, I set out to decorating the hearts. I seemed to do them in groups of three for some reason. This worked out well since there were nine of them in total. This was the first grouping. It was here I realized that the velveteen ribbon was too thick for the beads and had to change over to the sheer, light-weight ribbon for the most part.
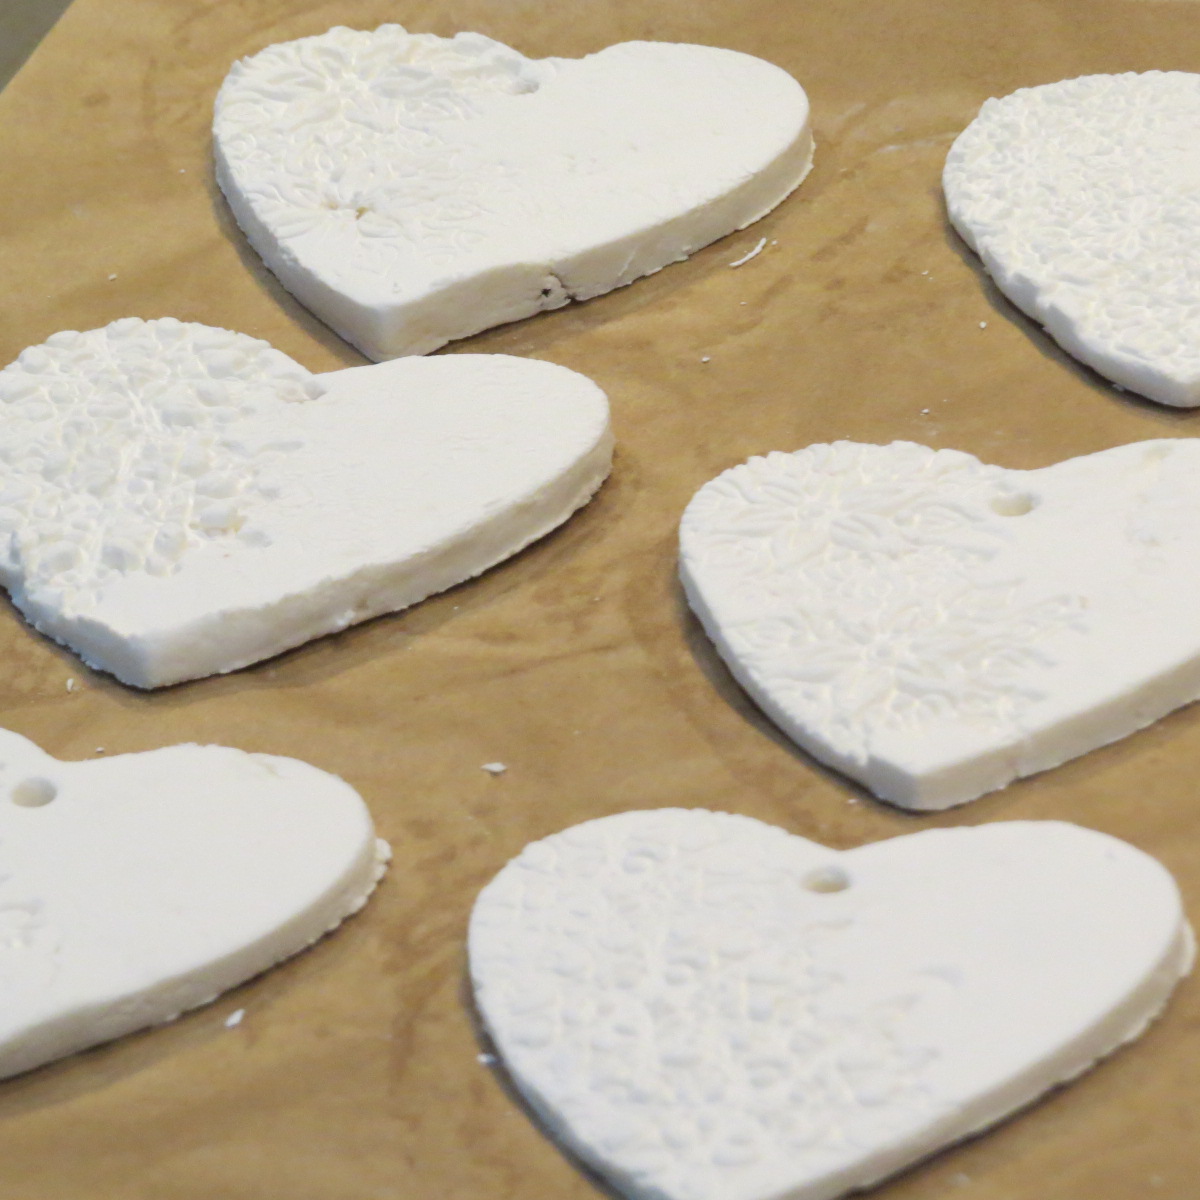
You can see more of the embossing here, as well.

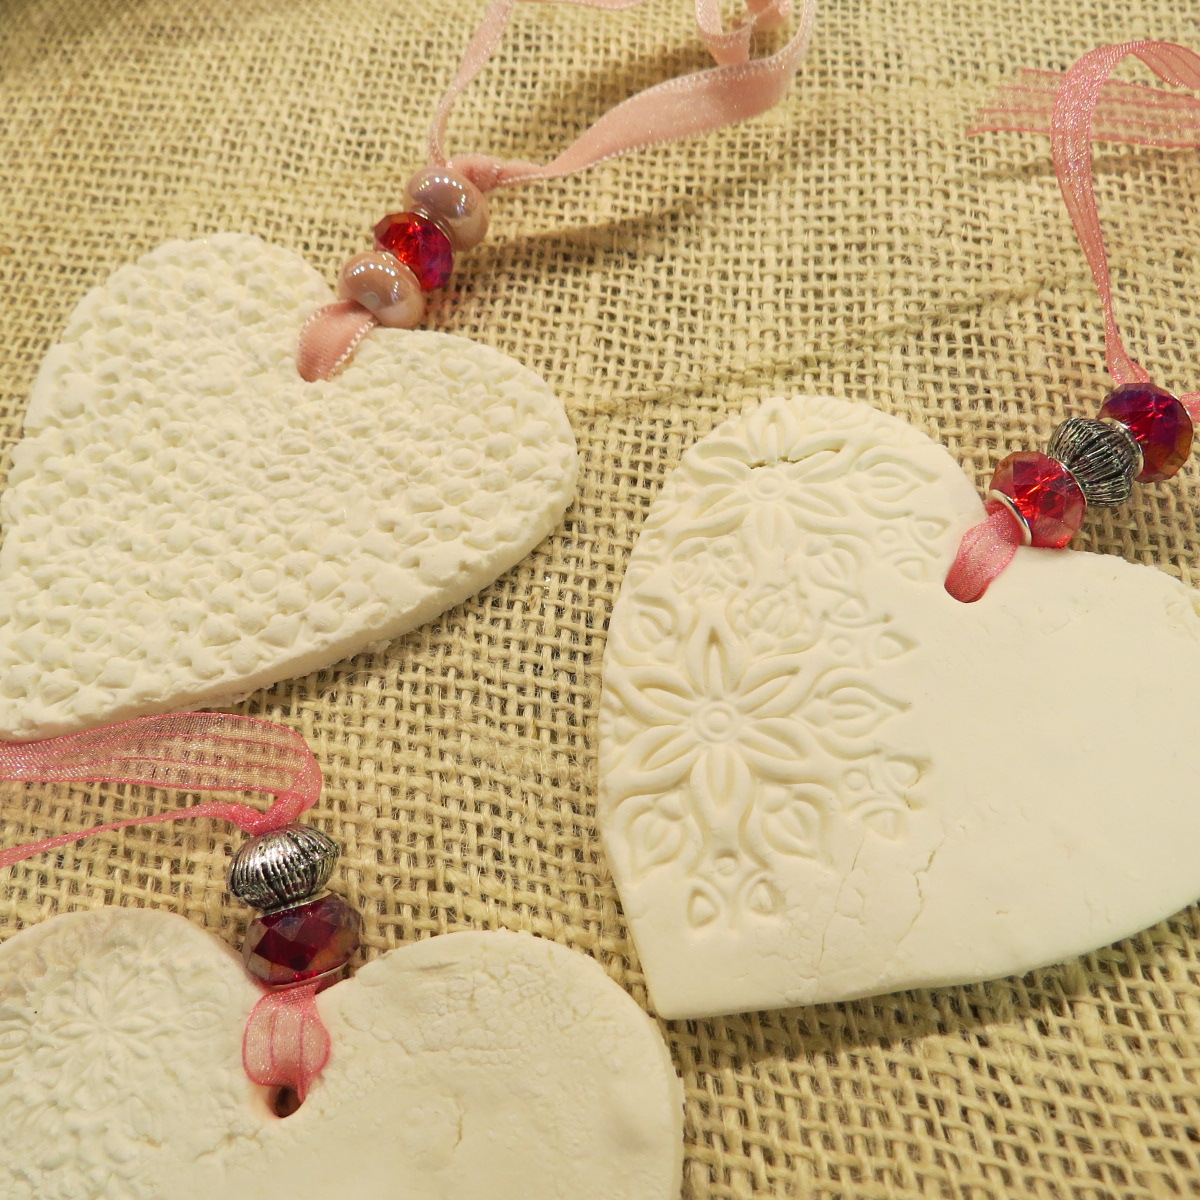
In the next grouping I incorporated some red beads. I liked them very much. I love the pinks and reds and creams of Valentine's Day~ I also thought the silver beads mixed in well, too!

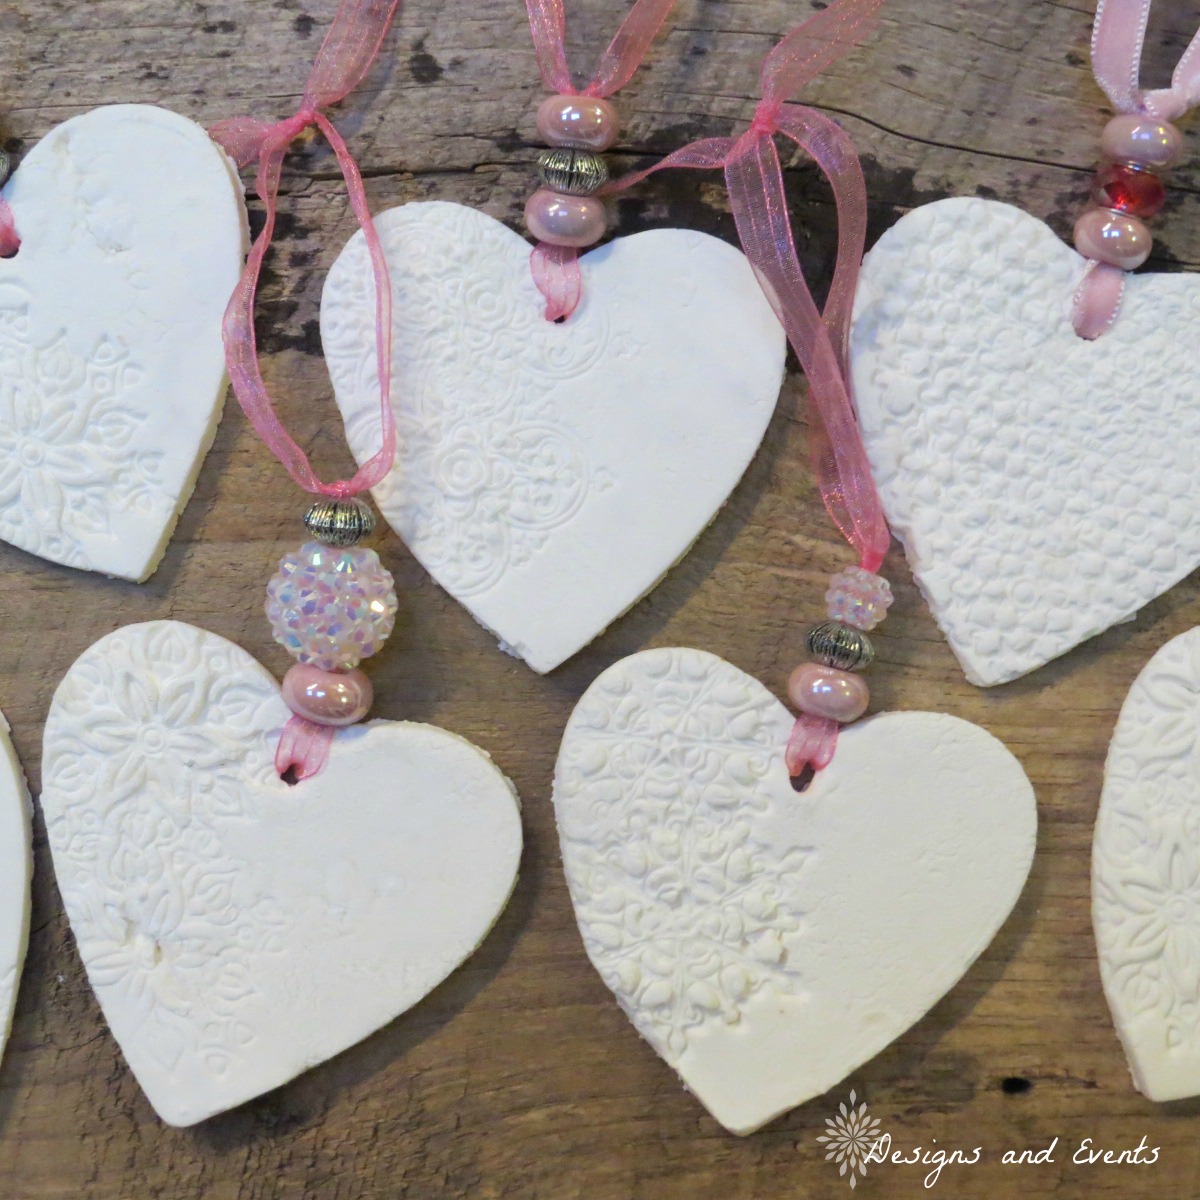
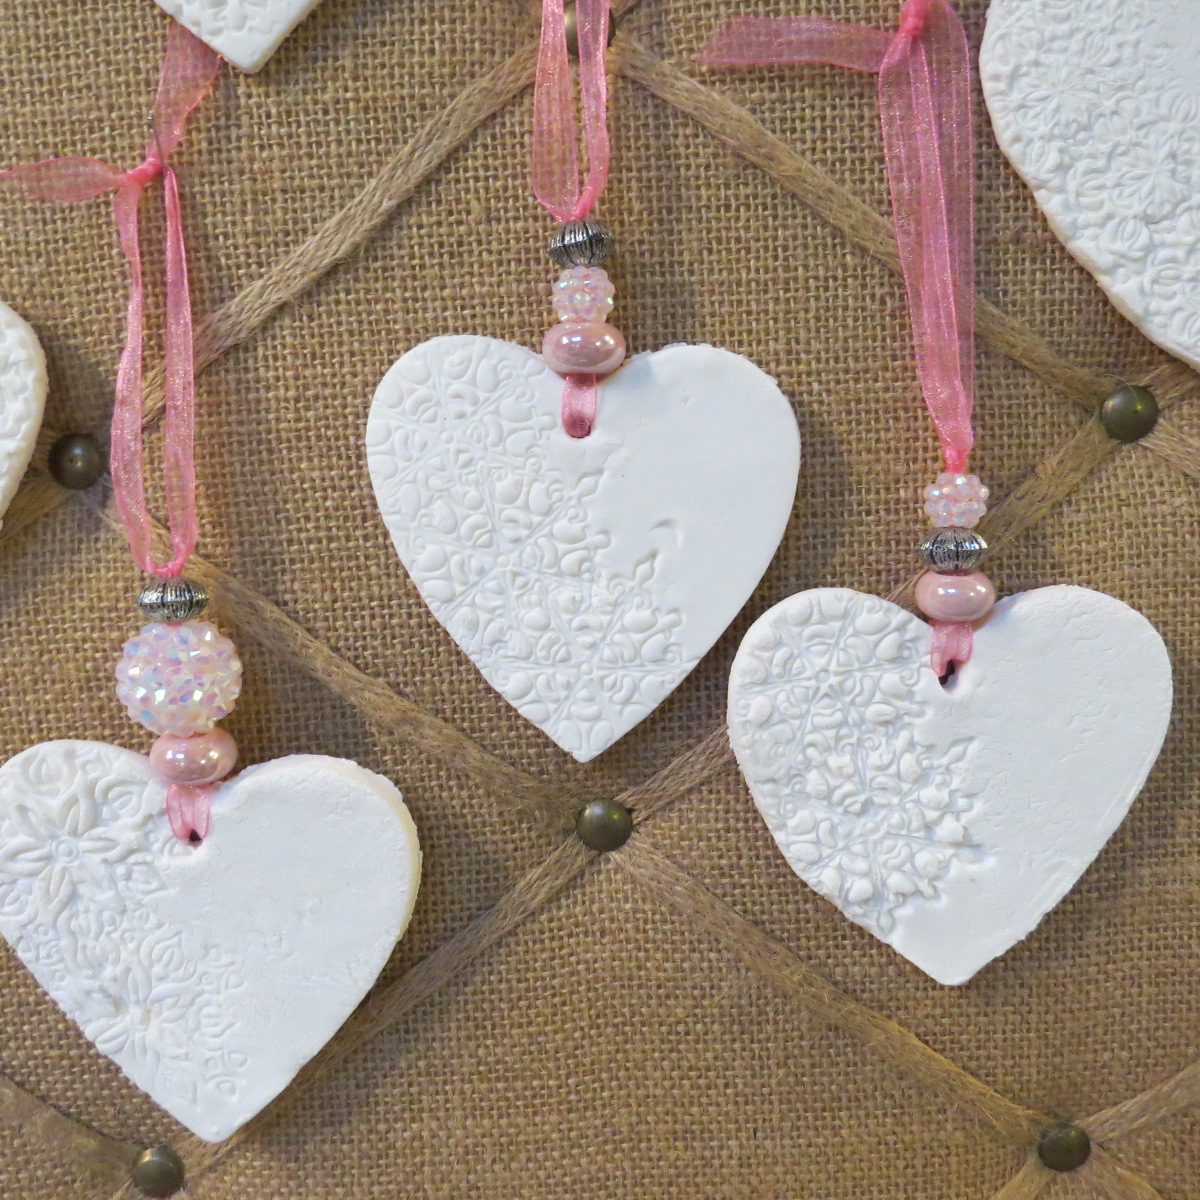
The final grouping was my favorite. I used the big white crystal bead in this grouping. The holes of these beads were just large enough to fit the sheer ribbon through. As I said, these are my favorites!
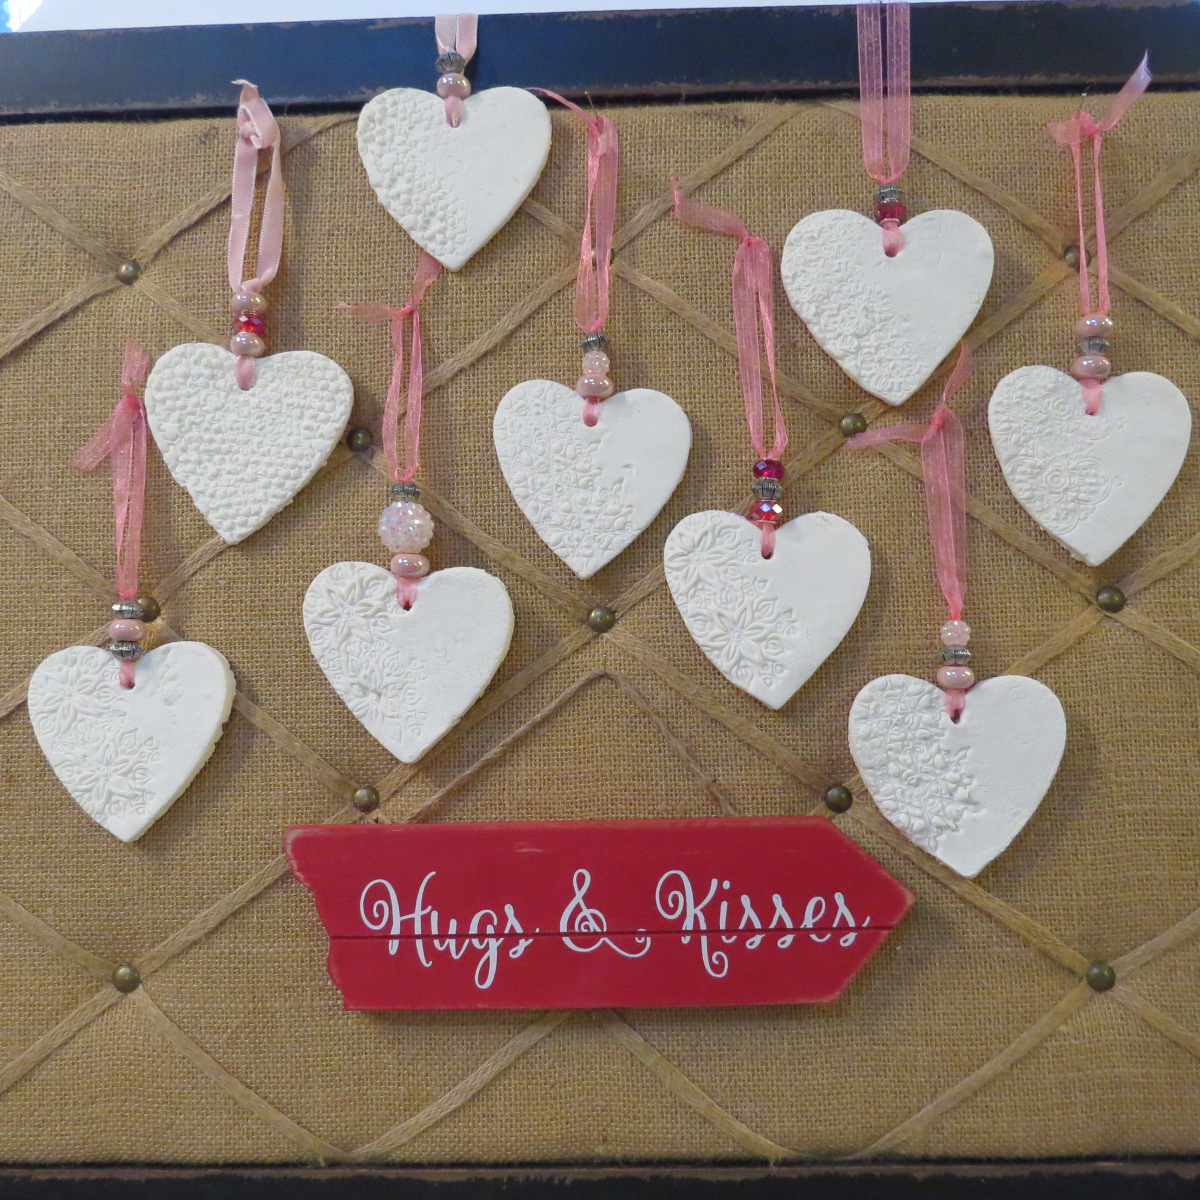
So, here they all are in all their glory. Originally, I was thinking of making these and selling them, perhaps in my Etsy shop, as wedding favors. I will have to play around with that idea because, at first blush, these cornstarch ornaments seem too delicate for that. We'll see. Until then, they are just for enjoyment. I might make more for my grandchildren for Valentine's Day. I would like to find some way of making them more child-like. Need to get the wheels turning :).
Better Than Salt Dough {Homemade Clay for Ornaments or Handprints}
from Tips from a Typical Mom blog (seemingly no longer in existence)
- 1/2 cup cornstarch
- 1 cup baking soda
- 3/4 cup water
- cookie cutter
- for fun: embossed rolling pinks and craft paint
- optional: food coloring (if you want to make colored dough, add the food coloring to the water before you mix it in.)
Making Clay
In a medium sized pot combine the cornstarch, baking soda and water. Stir over medium heat. After a couple of minutes, the mixture will begin to thicken. When it look like smooth, mashed potatoes, remove the pot from the heat. Spoon the ball of the dough into a bowl and cover it with a damp cloth or plastic wrap until it is cool. When it is cool, knead it on a smooth surface until smooth and silky. Add more cornstarch if it feels too sticky and/or sticks to the surface.
To Bake Them:
Preheat oven to 175 degrees F. Line baking sheet with parchment paper. Roll out clay to 1/4 inch thick on a silicone mat lightly dusted with cornstarch. (I rolled the dough out on my granite countertops and it worked fine.) Use cookie cutters to cut out shapes. Transfer shapes to the prepared baking sheet. You can use a straw to make a hole at the top of the ornaments so you can add ribbon later to hang it. We used a bamboo skewer. Place them in the oven for about an hour, *turning them over halfway through cooking.* (I strongly suggest making the dough at least 1/4" thick but, in doing so I would add to the baking time 8-15 minutes on each side but keep an eye on the shapes to make sure they are not cracking or browning.)

I hope I have gotten this post out in time for you to play around with this idea for Valentine's Day. They are forecasting rain all weekend for my area. Maybe more ornament making is in my near future!
Enjoy ❤ !!!
Sharing at these link parties:
Feathered Nest Friday ~ Sundays at Home
Snickerdoodle Create Bake Make ~ Silver Pennies Sundays
Dishing It & Digging It ~ Inspiration Monday
The Scoop ~ Wow Us Wednesday ~ Share Your Style
Create, Bake, Grow & Gather
Saturday Sparks ~ Nifty Thrifty Sunday

I love these. They are so delicate and pretty. They will be great for Christmas ornaments also.
ReplyDeleteThank you! Yes, I agree. I am thinking of using different cookie cutters next time :).
ReplyDeleteThese are lovely. I want to try this technique. Thanks for sharing at Snickerdoodle. Pinning.
ReplyDeleteThank you so much, Beverly 😊
ReplyDeleteThose are wonderful. Love them!!
ReplyDeleteThank you very much, Christine :)
ReplyDeleteThank you very much, Christine :)
ReplyDeleteThank you for sharing that great information. Also, find about Maize Starch Suppliers who offers the best quality Maize Starch In Bulk ranges
ReplyDelete