


Here is my tutorial for making the tissue paper flowers I used in my Celebrating Cinco de Mayo post:


First, start with 6-8 pieces of tissue paper. Line the papers together, fully aligned on top of each other.

Starting on one side, fold back an approximate 1" flap of paper. Go back and forth accordion style...

Until it looks like this.

I folded the swath of paper in half and cut because that was the size of flower I wanted. You could make the flower the whole size of the width of the original layers of paper, if you'd like. However, I would add more layers of tissue paper if I were going to make such a large flower. It will be fluffier that way.
You could also cut the swath of paper in thirds if you want to made smaller flowers. This technique is very adaptable.

So, I will get two flowers out of one swath of layered tissue paper.
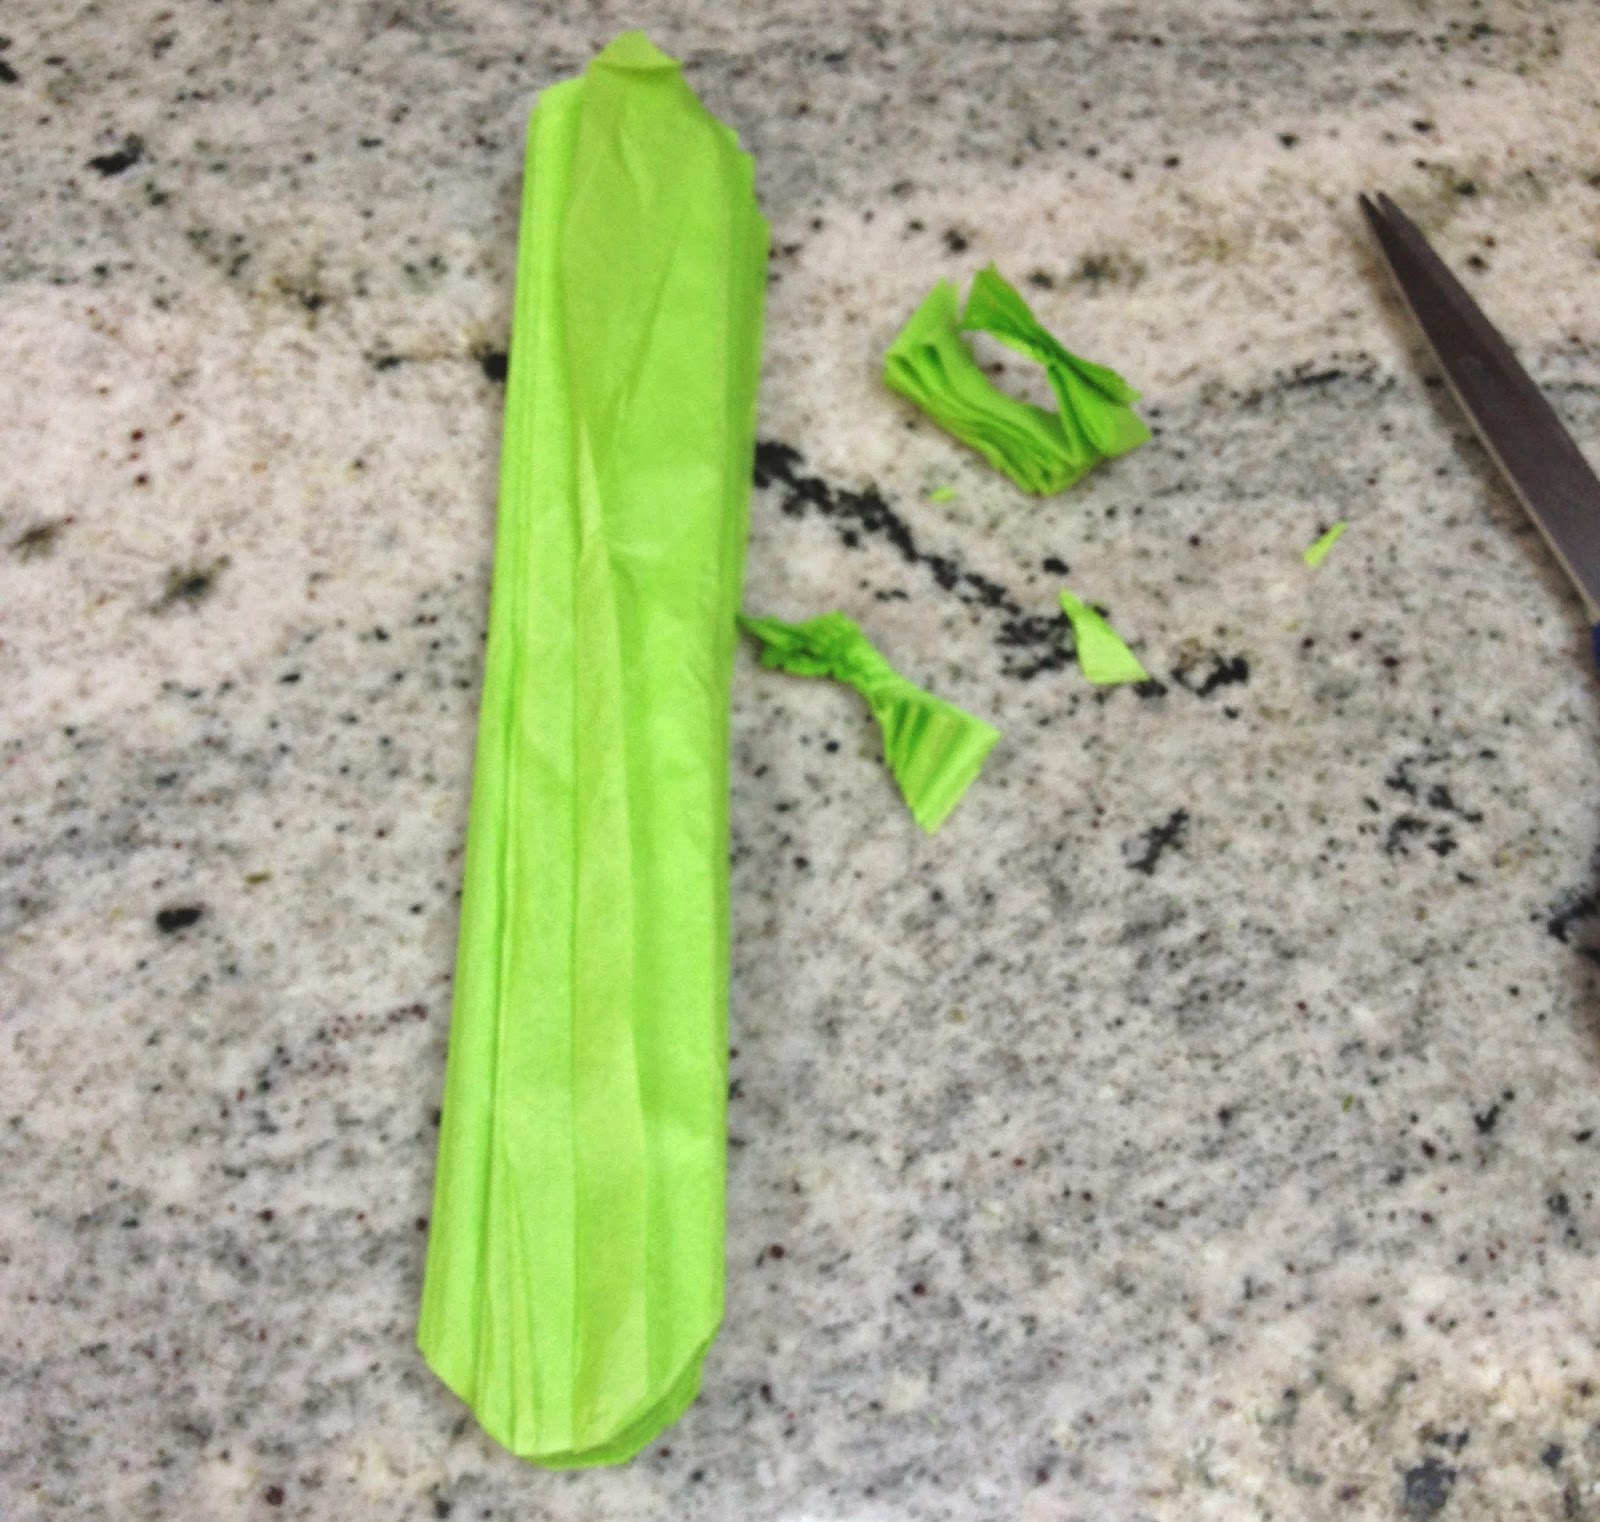
Cut the ends of the folded paper in a U or curved shape. This will make a peony-like flower. Other kinds of flowers can be made by cutting the ends in different ways. Spiked ends make more of a tufted flower. Experimentation is lots of fun with these flowers!
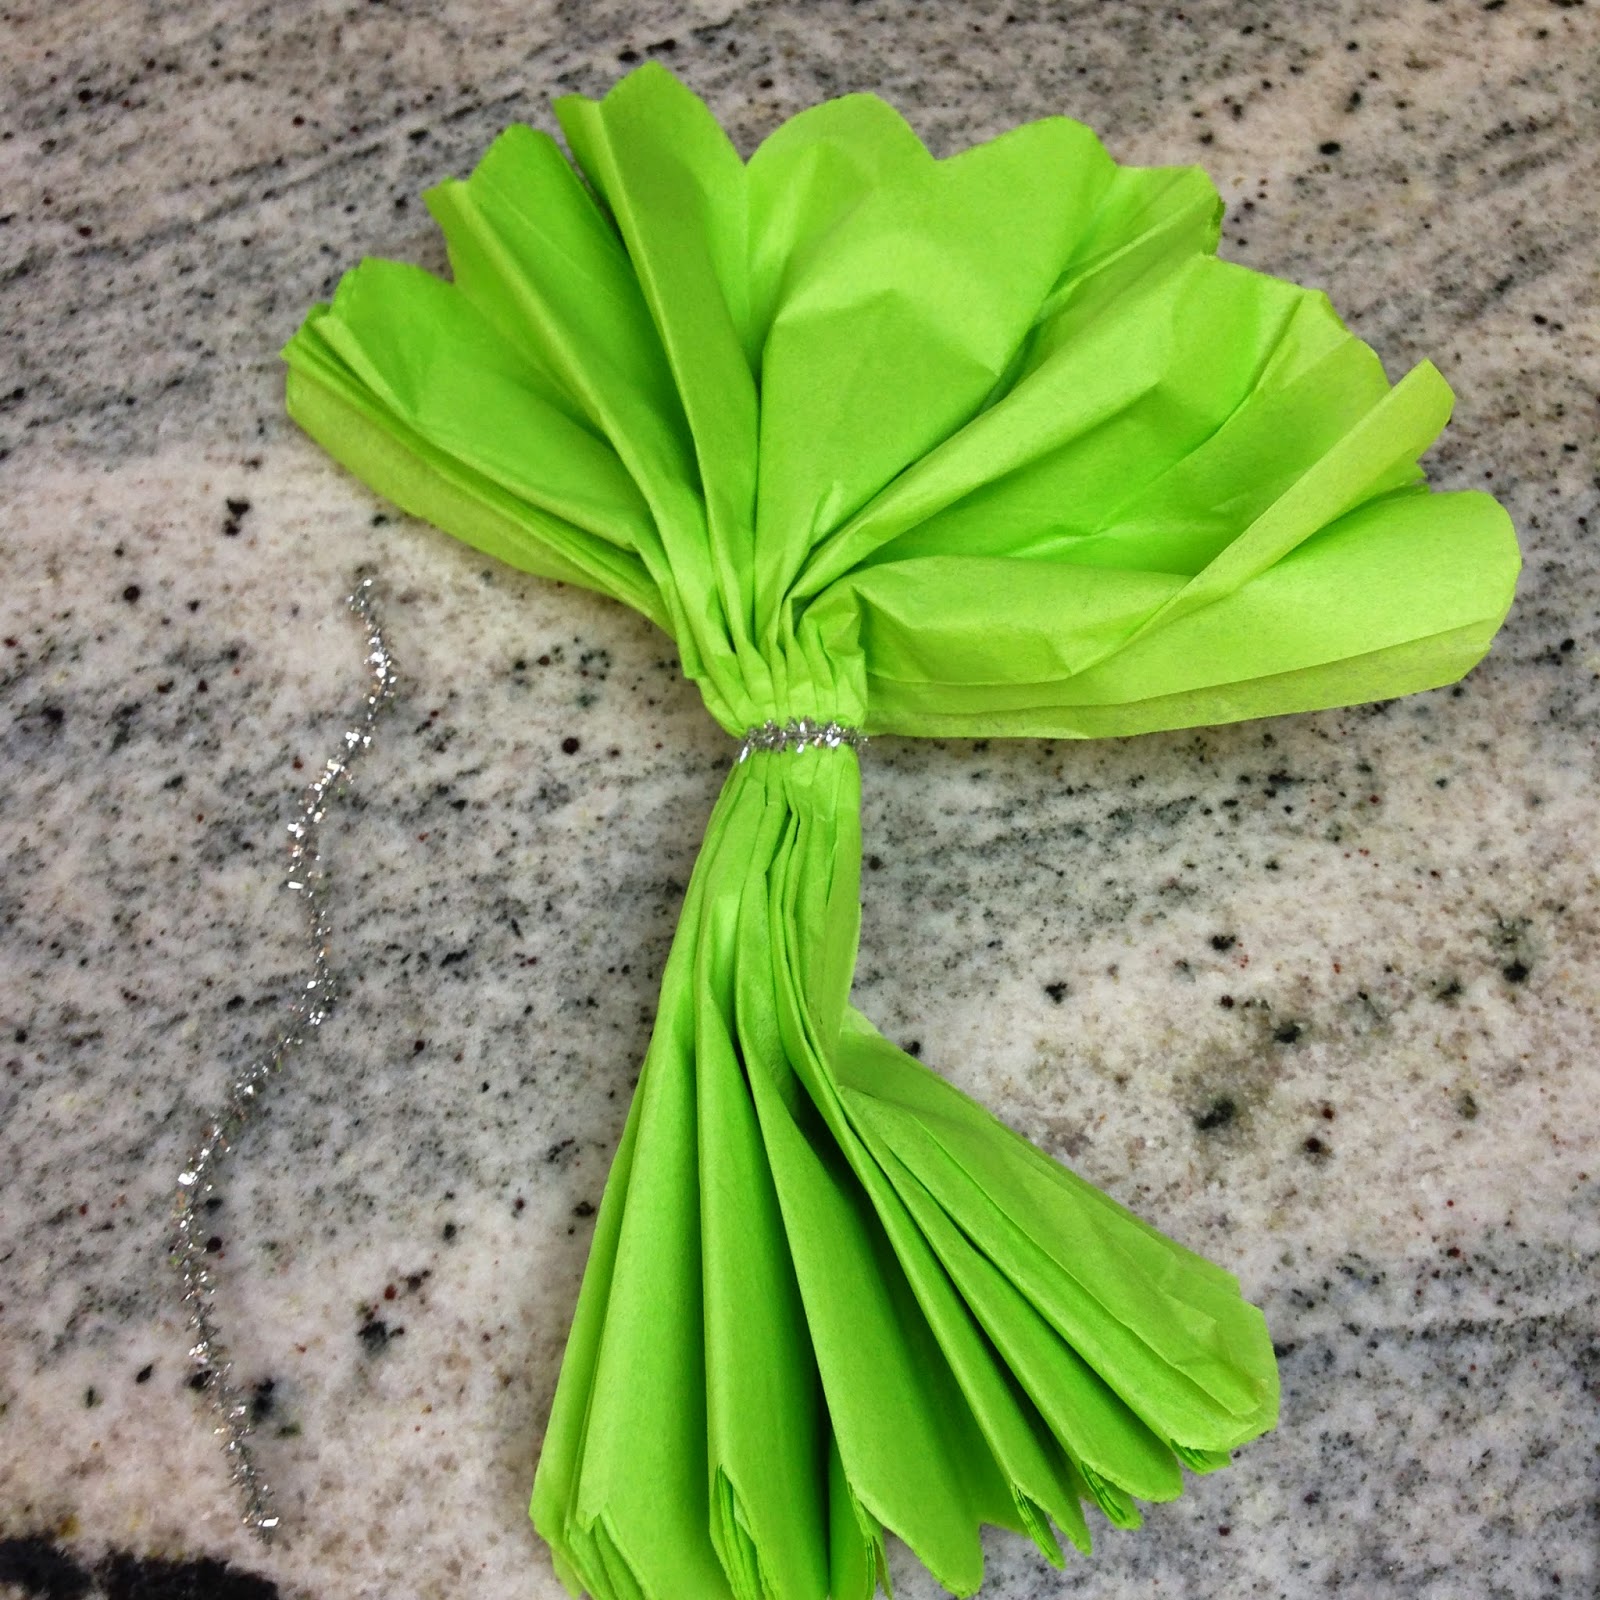
Take a pipe cleaner and tie in the middle of the folded papers.
Open each end fan style.

Now, one by one, gently pull the individual tissue layers to the center. Be careful. It is easy to tear the paper doing this. If you do tear a piece, don't worry. These flowers are very forgiving. Just tuck under the torn piece and pull the next layer up and around the torn area. Fluffing is very important at this stage.

Here, one side of the flower is completed.

This is the finished product, all layers pulled towards the center and fluffed. Pretty, don't you think?
You can do this with any tissue paper. Specialty tissue papers make really interesting looking flowers and can be used to enhance a specific theme. The possibilities are endless!


