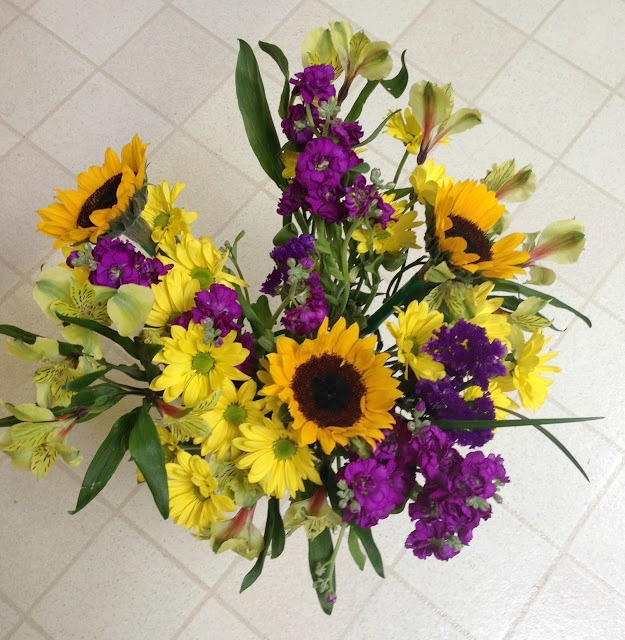
I am always trying to practice the art of floral design but, it can get kind of pricey with the cost of flowers. So often, when I just want to practice for practice sake, I buy flowers from my local grocery store. They usually do not cost very much and there is usually a decent assortment to choose from. I think this day I purchased two or three bunches of mixed flowers.
Next, place two or three blossoms together to make the center of your bouquet. Working in a circular and symmetrical motion, add flowers to create a round, oval bouquet. Since this is only practice, you can add the flowers in any color formation you would like. The bouquet should end up being pleasing to your eye. The whole idea is to have fun while you practice! Experiment! That's the joy of it!
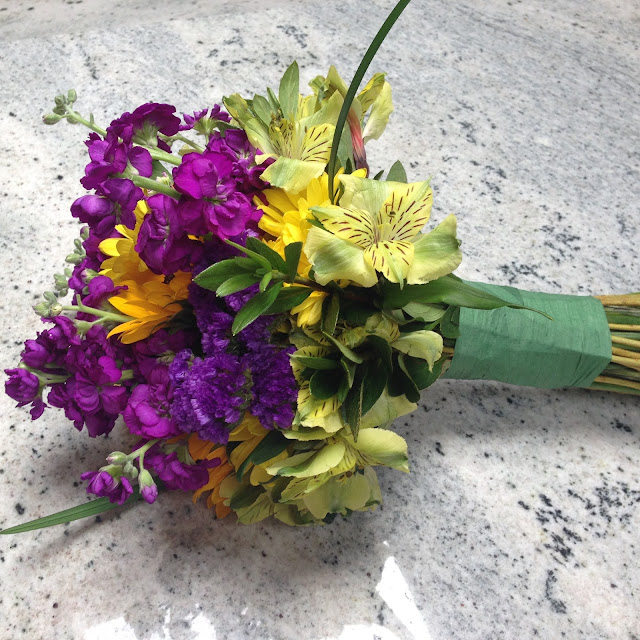
 When you have put the flowers together in a way that you like, bind the stems together with floral tape.
 Next you can wrap satin ribbon over the floral tape to give the bouquet a finished look.
I felt only so-so about the finished look so after rummaging through my supplies bin I decided to use some of this burlap ribbon as a stem wrap for the bouquet.

 I think, in the end, I removed the old purple ribbon that I had already wrapped around the stems and loosely wound the burlap ribbon around the stems. Still needing something more, I again decided to try the purple ribbon and tied it over the burlap, finishing it in a knot at the top of the bouquet.
 Of course, this little bouquet is probably not wedding worthy but, it certainly is pretty enough to brighten someone's day. Not to mention how much fun it was to make . Inexpensive also!
I was desperately trying to find a better place to photograph the bouquet. I'm not sure if I ever succeeded at that. Thinking the color of the marble boulder in my front yard would be a good backdrop, I took this photo. It didn't really work out as well as I had hoped.
The first thing you need to do with the flowers, after the stems have been cut at an angle and placed in water, is to separate the stems and clean all the leaves of the stalks. This makes for clean lines and less bulkiness on the "handle" of the bouquet. It also makes the flowers easier with which to work.
Next, place two or three blossoms together to make the center of your bouquet. Working in a circular and symmetrical motion, add flowers to create a round, oval bouquet. Since this is only practice, you can add the flowers in any color formation you would like. The bouquet should end up being pleasing to your eye. The whole idea is to have fun while you practice! Experiment! That's the joy of it!
 When you have put the flowers together in a way that you like, bind the stems together with floral tape.
 Next you can wrap satin ribbon over the floral tape to give the bouquet a finished look.
I felt only so-so about the finished look so after rummaging through my supplies bin I decided to use some of this burlap ribbon as a stem wrap for the bouquet.

 I think, in the end, I removed the old purple ribbon that I had already wrapped around the stems and loosely wound the burlap ribbon around the stems. Still needing something more, I again decided to try the purple ribbon and tied it over the burlap, finishing it in a knot at the top of the bouquet.
 Of course, this little bouquet is probably not wedding worthy but, it certainly is pretty enough to brighten someone's day. Not to mention how much fun it was to make . Inexpensive also!
Who wouldn't enjoy something this lovely?
Oh well, I still love the colors and it still was fun to practice :).
Joining these Link Parties:


 I think the sunflowers against the purple stock and statice are really outstanding.


