Hi, everybody! Yesterday was a big snowstorm day for us here in the Northeast. It snowed for hours and hours and we ended up with around 18" of snow! We are still digging out from it today. Knowing that the storm was coming, I prepared for it by getting some supplies to do a project I have been wanting to do for some time now.
It all began when I discovered this product on Amazon. It is an indoor repotting mat for transplanting plants.
See how it opens up and snaps in the corners to create a nice flat container of sorts? It is the perfect size for doing small to medium projects. When you are done, you wash it off, fold it up and tuck it in a spot in your gardening area of the garage or basement. It's great!
Now onto my project:
I wanted to make a dish garden. I had the perfect container from a dish garden my mother was given as a gift but, neglected to care for. Unfortunately, Mom suffers from dementia. She used to be an avid gardener and would have kept the garden thriving for years, I am sure.
Not wanting to waste the container, I took it home, totally intending to create a new dish garden in a relatively short time. However, the pot has sat in the garage for at least a year. So, the impending storm gave me the perfect excuse to take it out of the garage and make that dish garden!
I went to a nursery to find some plants and here are the plants I chose. I purchased them from Kane's in Danvers, MA, just in case any of you live in the area. Kane's sells a variety of plants in very small pots for $3.99 which work perfectly for this kind of project. The cyclamen was $5.99, I believe. That pot was slightly larger than the others.
Here is a side view of the container. It has pretty curves and features. I thought it was ideal for the project.
I dug up the dirt that was in the pot and made sure the previous creators had put rocks at the bottom of the container. You need rocks at the bottom for drainage. The rocks were there so, I was all set to proceed.
I then placed the plants in the ceramic vase still in the plastic pots they came in. This allowed me to see how I would like to arrange them.
I started with the tall plant and placed it in the back.
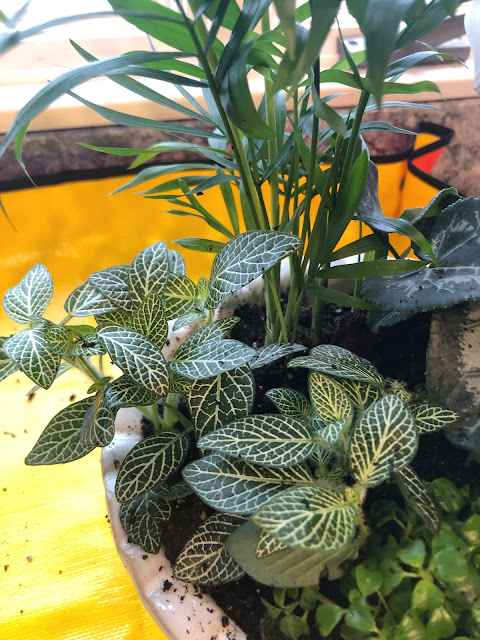
Next, I added two more plants in the front and to the side of the tall one. The fourth one just fit in the front. I am hoping it doesn't get crowded out by the others.

Please note that I have not been compensated in any way for writing this post. Just sharing information freely.


